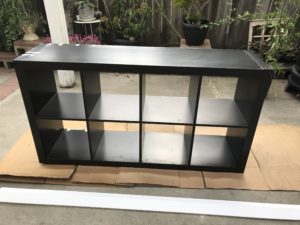
I’ve been looking for a sideboard cabinet for my parent’s home for awhile. Something that was cost effective but nowadays the prices are so high! I went on Facebook marketplace, craigslist, and to thrift stores to no avail. Luck would have it when a house in my parent’s neighborhood was moving and they were clearing out their entire house! Nope…didn’t find it there…but we found a tv stand/dresser in really good condition that my parent’s took it home and use it in their bedroom…which left the black kallax unit free to recreate! And that’s when I went on youTube and started my journey to transform the boring black shelving unit into a beautiful sideboard cabinet (if I do say so myself, lol)!
I started with wanting to 4 doors on this unit..but I didn’t realize that lumber would cost so much! It took 2 (1×3 at 8 ft) for $9.48 each to create the 2 doors! And that the 2nd to the cheapest wood range at Lowe’s! The cheapest option was $5 but the wood was shorter and also a bit more rough. So I decided to go with 2 doors first and see how it goes.
What started as a simple Ikea hack turned out to have so many moving parts…that the total cost was a little over $100. 🙂 But, I’m so happy how it turned out and I really enjoyed working on it!
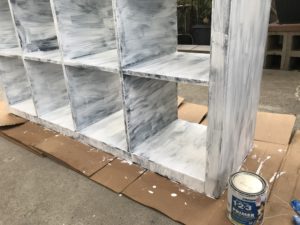
First thing I did was primed the unit with Zinsser 1-2-3 primer paint – I read many reviews about how good this paint is to cover up Ikea furniture.
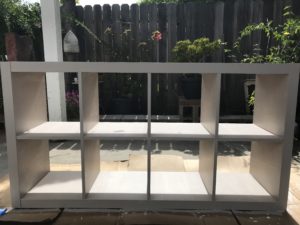
After sanding it down..I went with Sherwin-Willaims -Perfect Greige! I been wanting to try out this color…and I got a sample size of it at my local Sherwin Williams and it’s such a “perfect” color of beige and gray. 🙂 After 2 coats of that color, and light sand in between coats I added 2 coats of the clear polyurethane.
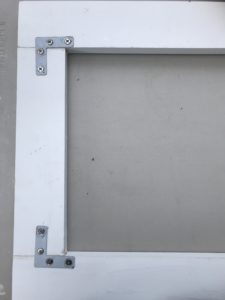
Using my little hack saw I cut down the lumber into 4 pieces to create the door. I use wood glue and L brackets (I found these on Amazon) to secure the pieces together. Using a heavy duty stapler I stapled the fabric to the wood on the back side. I got 3/4 yard of light burlap at Hobby Lobby when it was 40% off fabric week. Then onwards to attach the gold handle I found on Amazon. I wanted them to be a substantial size since I’m only having 2 doors! I found the door hinges at Walmart, $3.48 for 2. I was a little hesitant to see if it would work..since there wasn’t much options and everything I found on Amazon and Lowes were so heavy duty and soft-close, etc. Going in this project…I think the door hinges was the biggest challenge for me…or the part that I dreaded. Like what if the holes are wrong, it doesn’t work, and I have to re-patched the holes to make new ones, etc. But, with my dad’s help I was able to do it seamlessly! It all worked out! I’m learning to be better about not thinking about all the “what-ifs” beforehand and just do it.
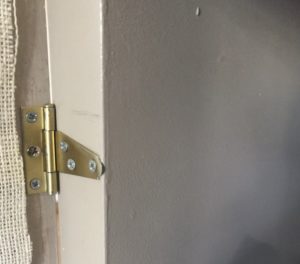
Door hinge at Walmart. Sprayed paint it gold to match the other hardware.
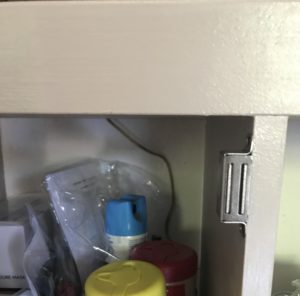
Magnetic door latch on Amazon. 4 pack for $4.99.
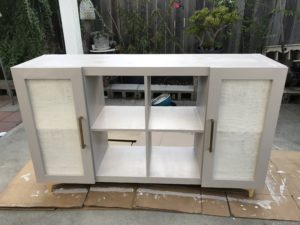
Ahhh…the finish product before it’s put in its place and furnished. 🙂 I kinda wished I took a better picture of it in the daylight.
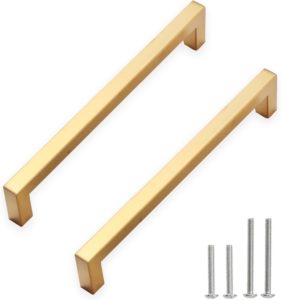
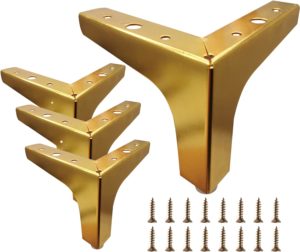
Gold Handles/Pulls and Gold Furniture Legs on Amazon. I got 2 of the 7.5 inch pulls and 4 of the 4 inch gold legs.
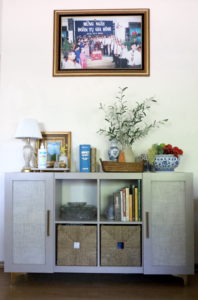
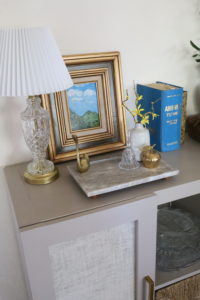
It’s new home! Using some of the items I thrifted and my parent’s existing decor! Doors and baskets to hold/hide daily necessities like paper plates/utensils/masks, etc.


Hey people!!!!!
Good mood and good luck to everyone!!!!!